Sidewalk Portal Help All help pages

The survey map

What this page is for: seeing every trip hazard we found, as a numbered pin on a map.

Every hazard we found is a pin. The number on the pin is the same number our crew marks on the pavement.

  1. Click See your survey on the map on your project card.
  2. Look at the boxes at the top. They count the hazards and the lineal feet.
  3. Look at the little key on the map. It tells you what each pin colour means.
  4. Click a pin to see that hazard: its number, address, height and length.
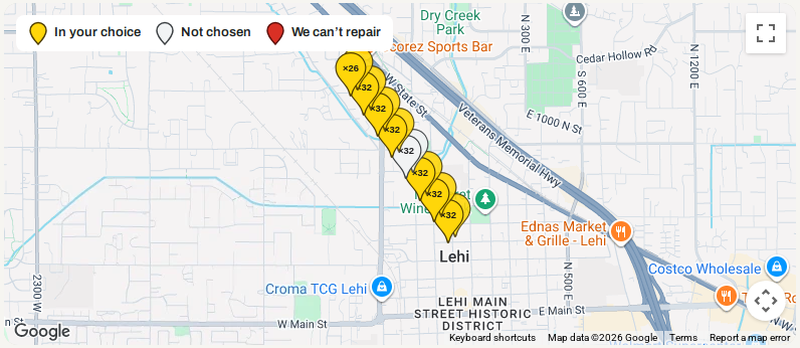
A map with yellow, white and red pins and a key above it
Yellow: in your choice. White: not chosen. Red: we can’t repair it.

Change what the map looks like

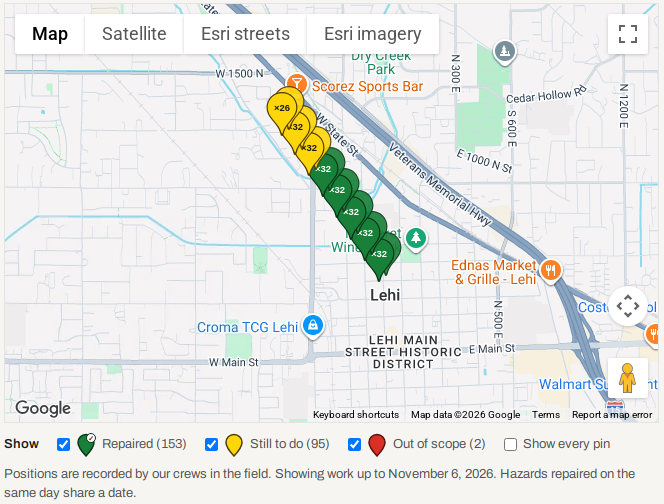
  1. Click Map or Satellite to change the background.
  2. Some maps also have Esri streets and Esri imagery.
  3. Use the tick boxes under the map to show or hide groups of pins.
  4. Pins close together are grouped, with a count like ×3. Tick Show every pin to see them all.
A map with the Map, Satellite, Esri streets and Esri imagery buttons, and the Show tick boxes under it
Demo project.

Pin colours

You seeIt means
Yellow pinNot yet chosen, or in your choice (before you sign). Still to do (after you sign).
White pinYou did not choose it.
Red pinOut of scope. We found it, but we can’t repair it. For example, a panel that needs replacement. It is not charged. It stays on your record.
Green pin with ✓Repaired.
✓✓ on a pinRepaired and inspected.

Some pins have photos. Where Google has street pictures, a Street View button shows the spot.

The Choose your repairs and Progress buttons sit beside the project’s name.

Stuck?

The map is blank or grey? Wait a few seconds. Then reload the page.

A pin seems to be in the wrong place? Map spots can be off by a few feet. Look for the number painted on the pavement nearby.

Call or email your representative. Their name, phone and email are at the top of every portal page. No name there? Call the number at the bottom of every portal page.

← Your projectsChoosing your repairs →